Showing posts with label painting. Show all posts

Tuesday, August 2, 2016

Baby Room - Crib

So, scraping wallpaper and painting a baby room while taking care of a baby is just not happening. Ugh! Maybe it will get done by the time Kizzy is one, or at least I hope. Poor child may just have to live in a room with partially scraped wallpaper.

It is time to transition Kizzy from her bassinet to a crib though. Actually past time since the weight guidlines for a bassinet is up to 15 lbs. and Kizzy is now 17lbs. Oops! Since we bought an older used crib at a yard sale, I wanted to at least paint it before she started using it. We got it for only $15 and it was a bit worn, but it is functional.We did buy a brand new mattress for it. :) As you can see in the picture, I taped off all the areas that were plastic, the side pieces where you hook it all together and the plastic on the top of the sides.

I debated for a while on how to paint the crib. Doing a quick search of how to paint a crib basically went with both spray paint and regular paint. So, I guess it would just be a preference. I chose to spray paint cause I figured it would be easier with all the bars and such. After all is said and done, I think the best way to paint a crib would be to use a spray gun and regular paint. This would give you the best coverage.

Then I debated (with just myself of course) what color to paint the crib. After browsing Pinterest, I found this picture of a red crib and loved it. I LOVE colored cribs. A round-up of painted cribs in every color of the rainbow! @BabyCenter #nursery #crib:  (Found here.) But then I wondered if that would be too bold. So, I almost convinced myself to go with a white or cream paint. Then I saw this one and was sold on the red. Sock Monkey Nursery @ashley Litwin if only we surprised Chris with this before Cal was born!:  Red will be perfect for the sock monkey theme that I plan to go with.

Painting the crib took longer and more paint than I expected. It took a whole 5 cans of spray paint to get it all covered. Trust me, it isn't a perfect paint job either, but it will work. So, here is the end result. (Ignore the less than great picture.) For now the crib is in our room, as we haven't transitioned Kizzy to her own room yet. Thanks to my brother, Dale, for helping my assemble the crib. It was more difficult than I anticipated.

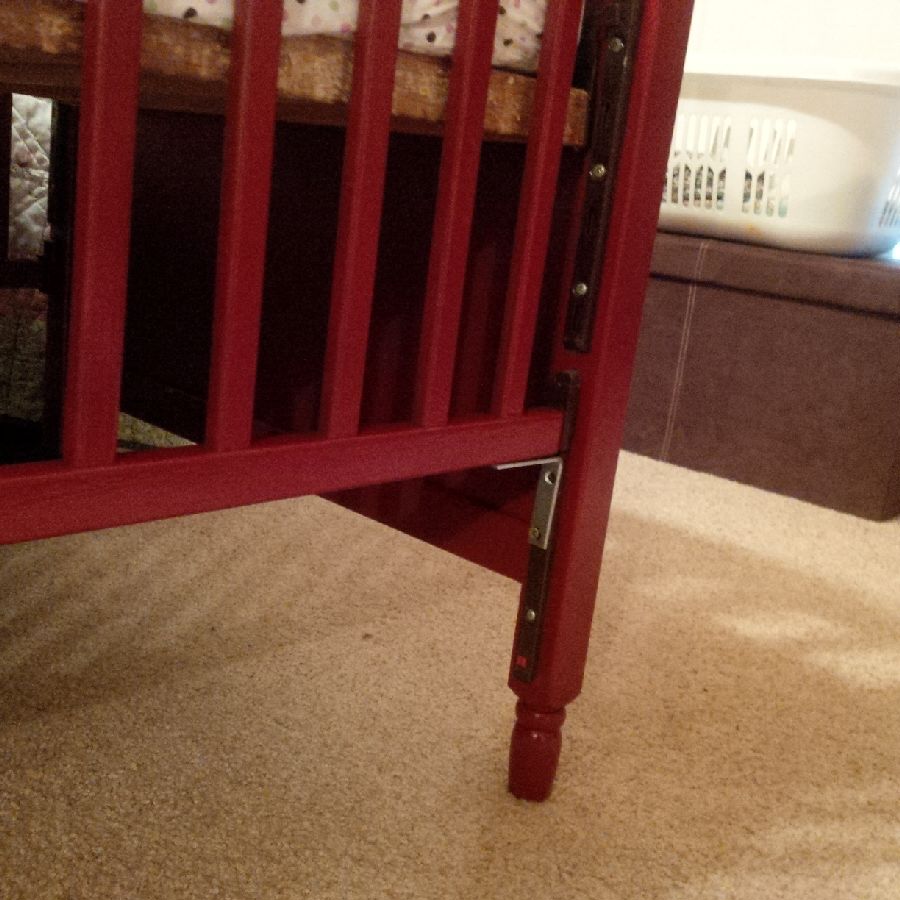
One last note. Since this is an older crib, it has a drop down side. That is a big no-no these days since it is a safety issue. Sometimes you can get parts from the manufacture to fix it. If not, there is an easy way to fix the crib so that it is safe to use. All you need are two corner brackets and some screws (about $5 at most hardware stores.) Just put the bracket at the bottom of the side rail, with the railing in the highest position, and screw it to the bottom of the rail and the side leg of the crib. Do this on both sides and the rail won't move at all.Problem fixed and crib safe! The only down side to this is that you can't take off that one side of the crib without taking off the brackets.

Again, here is the crib before and after.


Thursday, December 31, 2015

Baby Room Redo - Step #1

With less that two months until Baby Geurs arrives, it is time to get going on the Baby's room. I have had plans for the room since finding out the gender. Having the time, motivation, and energy to work on the room has been the issue. So, now I begin.

First off, the room still had several boxes of random stuff that we just put in there when we moved into the house cause we didn't know what to do with them. And there they stayed for two plus years. We have also accumulated other random item in the room along the way. To begin the process we had to move all that stuff out of the room. That meant sorting, throwing away stuff, donating stuff, and moving stuff to the attic, basement, or other rooms. Not a fun process. We got it done though. Here are some before photos that I snapped quickly to show how the room started out. Note that at this point a lot of the extra stuff had been removed and some baby stuff had been moved in.


Not real exciting photos, but you can see that there is some work to be done. I have started removing the wallpaper. Not an exciting job, but it has to be done if the room is going to be painted. The old wallpaper (like much of the rest of the house) was in terrible condition and was ripped and coming off in several spots. Not to mention there are three layers of wallpaper and three borders on the wall. I have not idea what these people were thinking when they just kept layering it on. 

Stay tuned for updates as the work progresses. Step two is to remove all the wallpaper and paint the room and ceiling. 

Thursday, September 4, 2014

Front Door Paint Job

Summer has flown by and with it went all the time and plans that I had for summer projects. Finally, I managed to at least get the front door repainted. The door was in good shape, but I wasn't fond of the color. Just wanted something more fun and  wanted it to match the blue accent color I picked for the house. So, I went from this......  

to this......

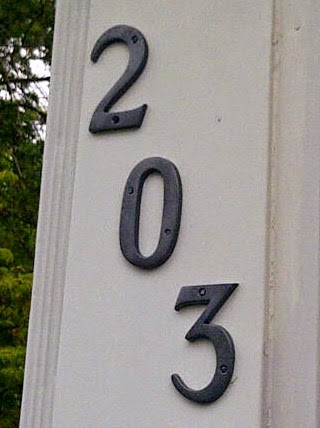
 Now the door matches the flower pot tower. The paint color is from Walmart and it is called Deep Heliotrope. It looks like it is a bright royal blue when the sunlight is on it, but when it is in the shade it is more of a darker true blue. Sometimes it even looks a little purple. Much more fun than the dark green door. Along with the paint job for the door, I freshened up the house number and the porch light with a coat of spray-paint.
Really simple and quick project that just makes everything look a little more put together. Also, If you don't have money to change out what you have for what you want, this is a great way to make it work. Here are the simple steps that I took:

  1. Remove whatever you can and lay it out on newspaper, cardboard, or something that you can spray paint on. I was able to take the house numbers off and the top part of the light fixture. 
  2. Clean off the dirt and cobwebs. 
  3. Tape off anything that you don't want painted. In my case, I taped off around the light fixture and then taped sheets of newspaper around it so that I wouldn't spray paint  the windows or siding. 
  4. Give everything a coat or  two of spray paint. I used Krylon Fussion in a dark grey metal hammered finish. 
  5. Let it dry completely and then put everything back together. 
This small project was pretty quick and I was able to do it while letting coats of paint dry on the door. Speaking of the door, here is how that was done. 
  1. Clean the door. 
  2. Fill any dents or cracks. I used an outdoor caulking to seal around the frame of the window because there were some cracks in it. 
  3. Tape off everything that you don't want painted. The proper way to paint a door would be to remove it and all the hardware. I am too lazy for all that. So, I just taped off what I didn't want painted. 
  4. You may want to lightly sand the door so that the paint adheres to it really well. (I didn't do this, we will see if that was a smart step to skip or not.)
  5. Apply a layer of outdoor paint primer and let it dry completely.
  6. Apply a coat or two of an outdoor paint. I used a flat finish paint cause that I what I had on hand, but a semi gloss finish is really nice and easier to clean. 
    When painting a door it is important to paint it correctly to avoid streaks or drips. Here is a graphic that I saw on Pinterest that was super helpful.
There you have it, a new fun blue door. So, simple that I even made dinner in between coats of paint. And there I am in the reflection of the storm door.